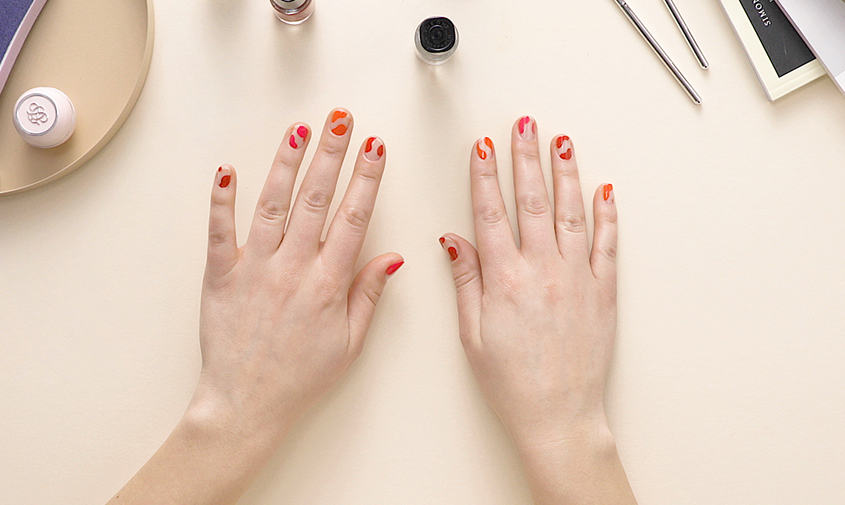
The most important thing to remember with negative space nails is that the empty space is just as important – if not more so - than the pattern itself! So make sure to read on to learn how to create mini masterpieces on your own nails.
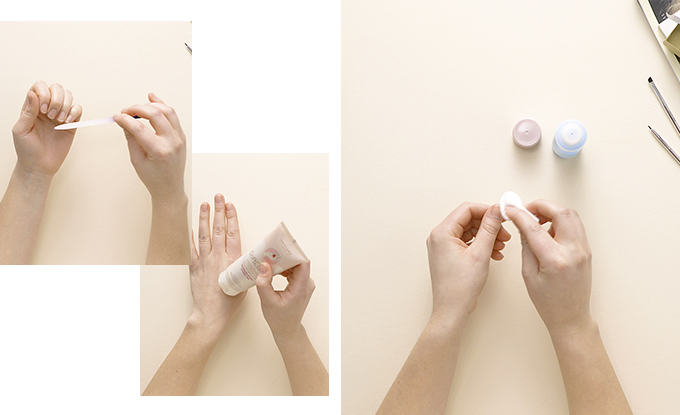
1. File, moisturise, prep!
First things first: make sure to file your nails into a shape of your liking. Yes negative space nail art can be abstract and break all the rules but your nails are your canvas and need to be prepped accordingly!
Don’t forget to moisturise your hands before getting started – with all the hand washing you’ve been doing this year, your cuticles will thank you for a little extra TLC.
Lastly, apply nail polish remover in a circular motion over each nail bed to remove any excess moisture and or dust particles before applying your first coat of polish.
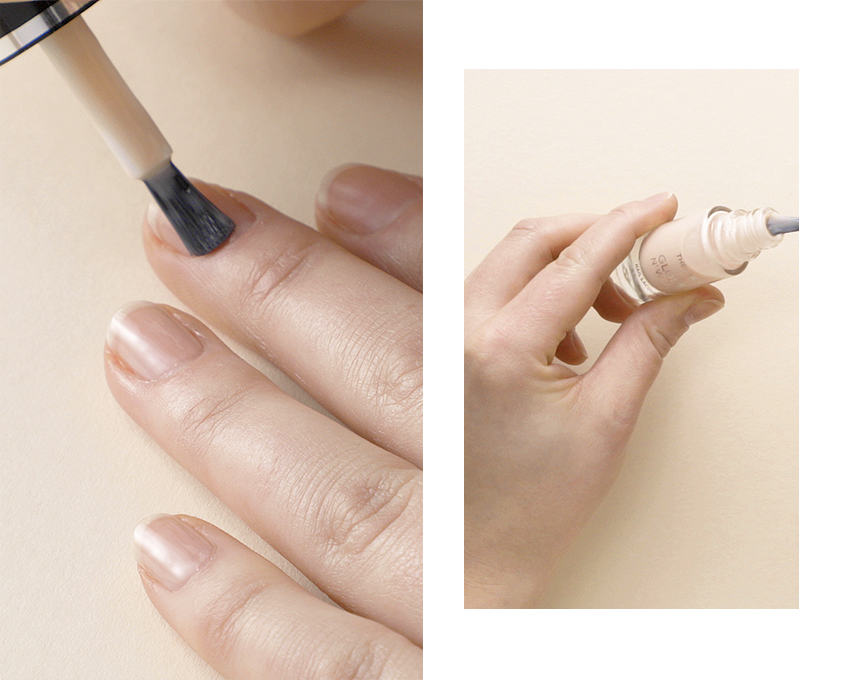
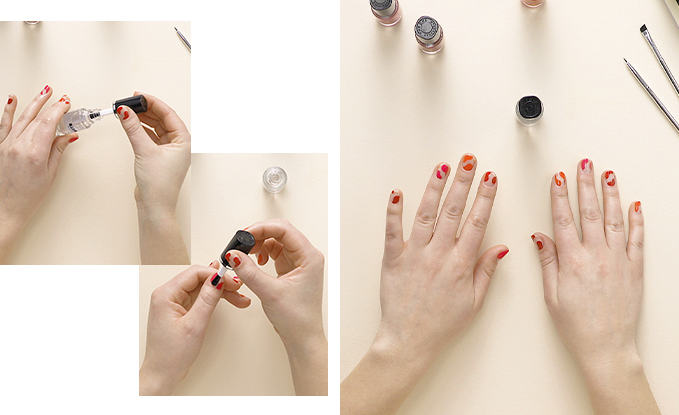
2. Apply your base coat
Apply a neutral base coat that will help polish go on smoothly – even more important when you need a smooth surface for precise application. We chose The ONE Gloss N’ Wear Nail Lacquer.
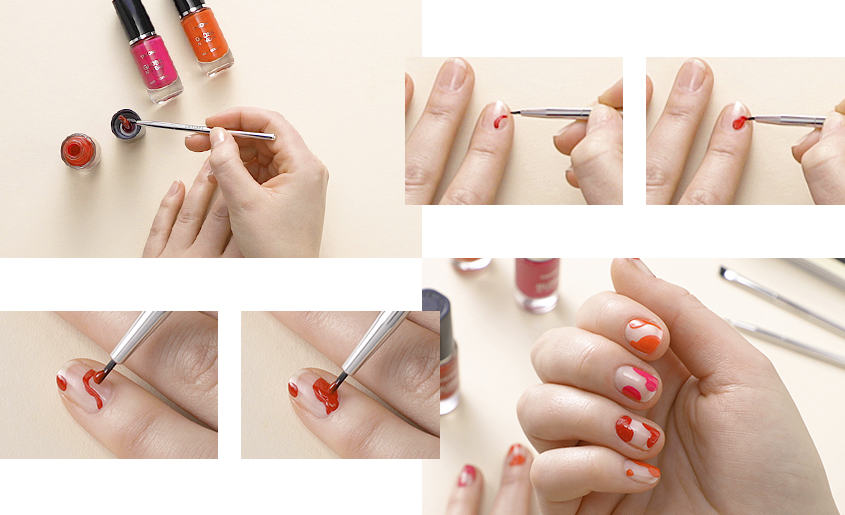
3. Paint Your Patterns
Select your colours – we went for warm vibrant tones (The ONE Gloss N’ Wear Nail Lacquer in Gorgeous Scarlett Cream, Fuschia Allure Cream, and London Red Cream). Warm tones like these fiery reds, pinks and oranges are the perfect summer colour scheme!
To create your negative space you need to add your patterns: for precise application, make sure that your nail polish brush has a straight end to it – or use a thin brush (we used The ONE Nail It Nail Polish Removal Brushes). Rest your wrist on a flat surface to steady it and apply a wavy diagonal line on each nail in each of your selected colours. Build up the colour with thin coats.
4. Add Your Top Coat
Add a top coat (We used Pro Wear Quick Dry & Plumping Top Coat). Make sure the polish has dried first so you don’t smudge your patterns!
5. Clean Up Any Mistakes
Pour some nail polish remover onto a Q-tip to remove any polish that may have gotten onto your fingers. Pour a small amount of nail polish remover into the cap and with a nail polish remover brush clean up any colour that may have spilled over onto the cuticle.
Ta da!


