Step-By-Step: Gold Accents

Nude nails accented with gold lines is the ultimate nail art to master this season. Once you’ve got the technique down, try it out with different colours – it’s an easy way to give your nails a luxe finish.


1

BASE COAT

Start by applying a layer of base coat to prepare and protect your nails. Remember to seal the tip for a longer lasting effect.
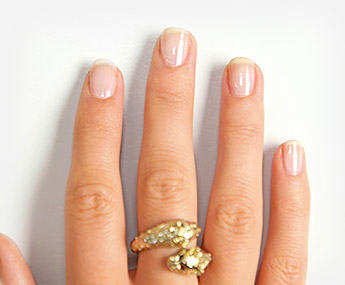


2

BASE COLOUR

Choose your base colour - we picked a sheer nude polish. Apply two coats and wait until the polish dries.



3


CUT A BRUSH

To create your nail pattern, you’ll need a thin nail polish brush. Take an old nail polish and cut the brush to create a thin brush for application.



4

PATTERN

You’re going to create a series of vertical and diagonal lines down your nails, so decide on the exact pattern before you get started. Steady your hand by leaning it on a surface, and layer the gold nail polish on lightly to keep your hand from shaking.


  5

ADD SHINE

Once your pattern has dried completely, finish with a top coat to seal the nail art and to add extra shine.


To watch the video click here. 


Skrevet af: Fotografier af: Victoria Stillwell, Nails by: Frida Selkirk