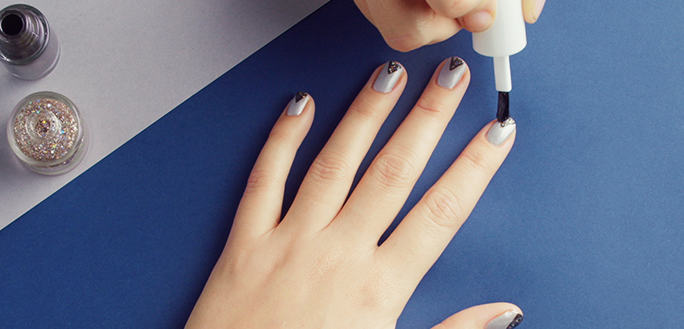
1. BASE COLOUR
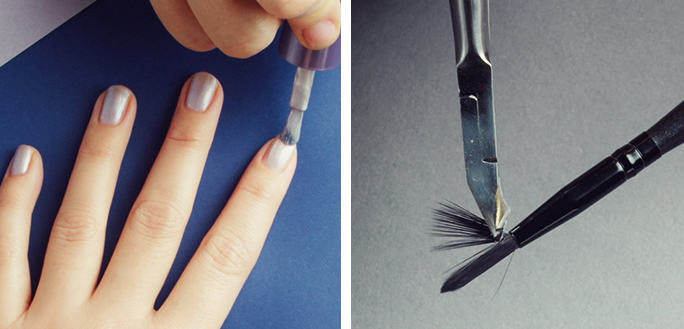
Start by applying a heavily pigmented base colour in a light metallic shade. It usually takes two coats of polish to create a solid base. Make sure your nails are 100 % dry before continuing.
2. TRIM BRUSH FOR PRECISION
For precise application of the next colour, make sure your nail polish brush is the right size. Trim it with scissors to get the right thickness and cut a straight or angled end, depending on what effect you want. An angled tip will give you a geometric look.
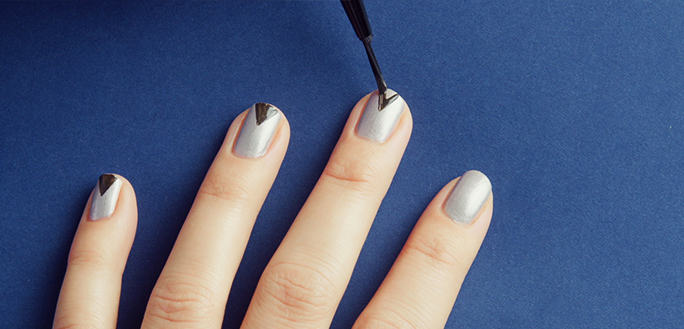
3. DRAW TRIANGLES
Choose a darker colour and dip your trimmed brush into the polish. Rest your wrist on a flat surface, to steady it while you draw your triangle lines. Apply with gentle and thin coats, building up coverage from the inside of the triangle.
4. SPARKLE
Again, wait to make sure your nails are dry. Then fill each triangle with glitter polish to make them sparkle for the festive season.
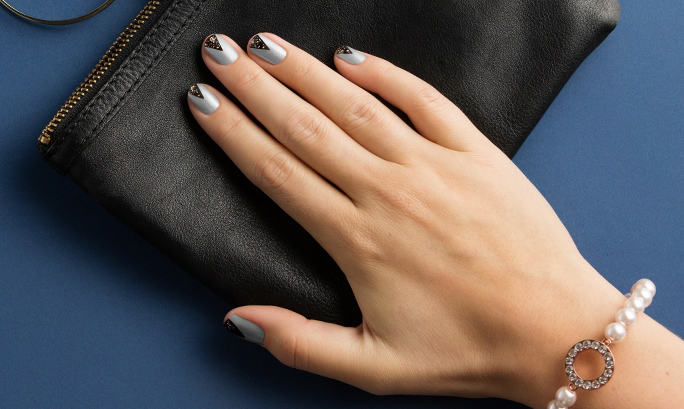
5. FINISH
Seal the look with a long lasting top coat.
For a video click here.


