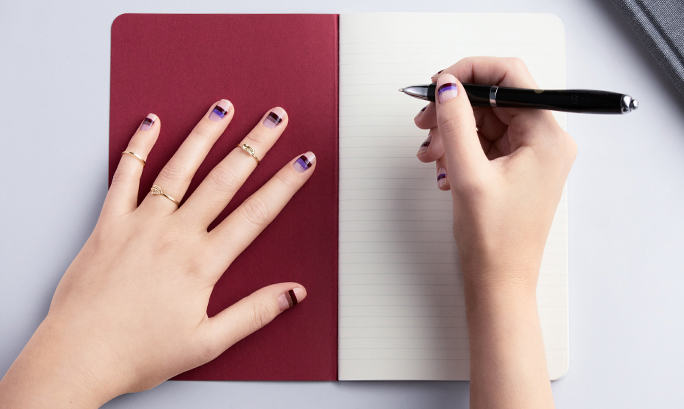
1. CHOOSE COLOURS
To create multi-coloured stripes, start by selecting your preferred contrasting colours. Select heavily pigmented nail polishes for the best effect!
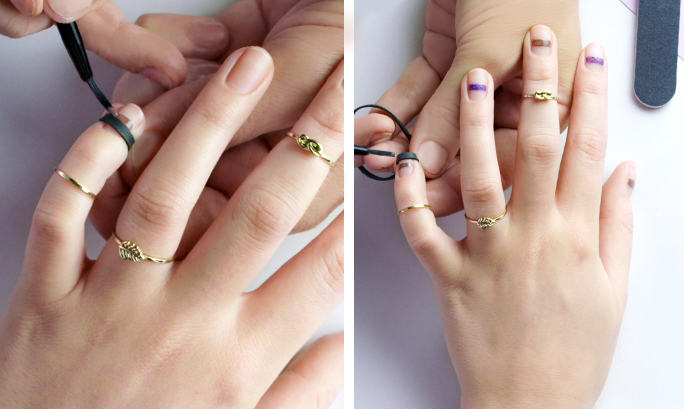
2. CUT YOUR BRUSH
For precise application, always make sure that your nail polish brush has a straight end. Trim the brush if necessary.
3. FIRST LINE
Rest your wrist on a flat surface to steady it. Dip your brush into one of the colours and draw a horizontal line across your nail. You can use a rubber band around your nail to get a straight edge. Apply with thin, gentle coats to build up coverage.
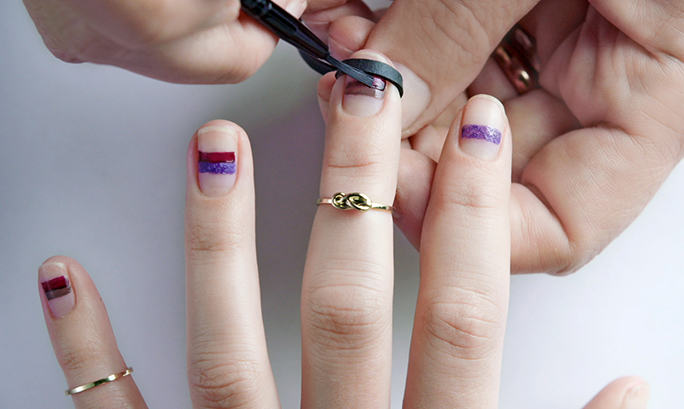
4. SECOND LINE
Decide where you want your next line to start. Move the rubber band to the outer edge of that next line and draw stripe number two.
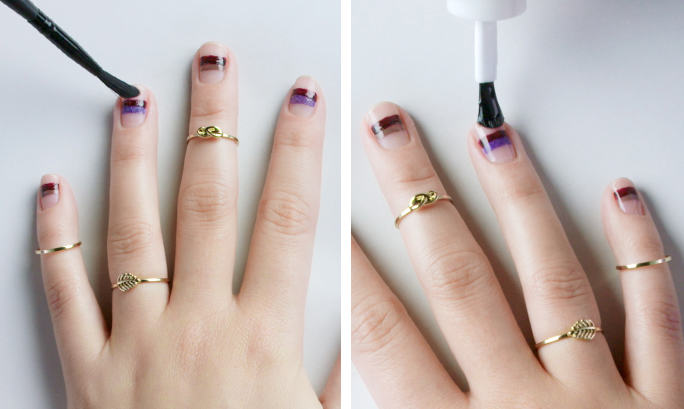
5. CLEAN UP
Pore some nail polish remover onto a nail polish brush or a cotton swab to remove splatters on your fingers and the unpolished part of your nail.
6. TOP COAT
Let your nails dry completely and then seal the look with a long lasting top coat!
To watch the video click here.


